Spray Foam Insulation Hatch Pattern For Autocad
Apr 10, 2006 CAD/BIM Library of blocks 'insulation hatch'. Free CAD and BIM blocks library - content for AutoCAD, AutoCAD LT, Revit, Inventor, Fusion 360 and other 2D and 3D CAD applications by Autodesk. CAD blocks and files can be downloaded in the formats DWG, RFA, IPT, F3D. You can exchange useful blocks and symbols with other CAD and BIM users. AutoCAD has a linetype named BATTING. I created a LISP routine to load the linetype and draw a line that has the correct scale based on the insulation size and drawing scale.I can give it to you, if you want.
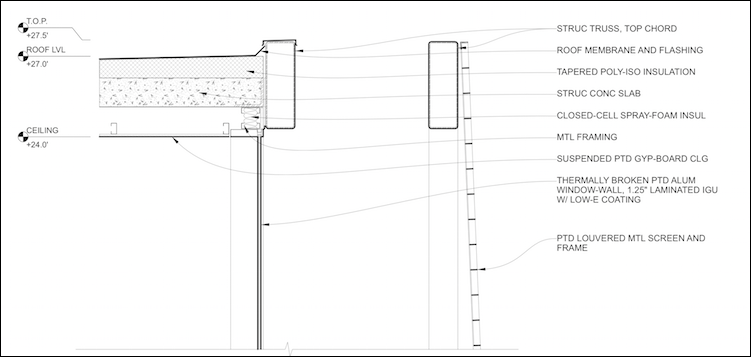
I've read thru a bunch of previous posts dealing with hatch patterns for insulation patterns in a wall assembly. Geneious keygen. I don't want the curvy 's' shaped lines of the batt insulation, I'd like the pattern to be a series of lines, staggered, and perpendiculat to the edge boundry lines of the insulation. I'd like my end results to look as follows.
The upper portion of that wall is the revit generated hatch. The lower part is one that I created using a repeating detail.
It has to be added in each view that the insualtion areas are being detailed. What I was hoping is that there is a fill pattern that could work for the whole project. So that every place that there is a a section of the wall, it would show the pattern I 'd like ( the horizontal lines) and not the cross hatched pattern. What if you split the wall layer and use these two different materials? You will have to create the insulation material you want but that's easy.
OR, If you are not cutting through windows or doors you could try the trick of embedding a small sweep to your wall assembly. The sweep is formed by a profile family and the profile family has the detail you want. It is not the best solution because if your wall changes in height, you have to edit the profile to adjust the modification, but you can be inspired bu reading this thread: I would still try the first suggestion, though. Andre Carvalho. Hey Thanks, I had just created that wall really quick to show the two hatch patterns I was talking about., I want the wall to look like the lower one, all the way thru the wall and in every detail. Where i'm having troubles is making the insulation hatch work. I may be wrong the underlying therory for wall material hatches.
I was under the understanding that it just takes a.pat file or a simple parallel line or crosshatch wall pattern. I just want it to have the final out put too look like the wall section i've drawn with those staggerd, offset line segments. Not the cross hatch. I wish the batt insulation tool could be modified to also be a 'rigid' insulation tool. I think that all you need to do is find, or create the hatch pattern that you want. You can't create it in revit, but there are programs out there that will create custom hatch patterns, just do a search for them. You can then use that hatch pattern for your wall material fills, so if you have a stud layer that has insulation in it you would make that layer in your wall type have the insulation fill pattern.